Thankfully this midweek, we've done with the B, and now we are ready to move to the next letter.
Letter C...here we come :)
We started the letter C lesson by watching a video about one of Eric Carle's book that is red by Kari Schiff, The Very Hungry Caterpillar.
Benn The BOY really likes the story so much and he keeps repeating watching the video for 2-3 times at almost midnight lastnight (pfiuhhh...let's sleep BOY, Mami is so sleepy)
This afternoon we do some worksheets from 1+1+1=1, and cannot wait to do the funnest part of every lesson that we do, that is Crafty Time ^_^
And today's Crafty Projects are making Balloons Caterpillar n Butterfly :)
These are the humble things that we use to make these project:
- Some small sized colorful balloons ( 7 pcs for Caterpillar & 4 pcs for Butterfly)
- Double tapes (but we used only tapes, since I cannot find my double tape)
- Glue (UHU)
- Dark Color papers for making the eyes
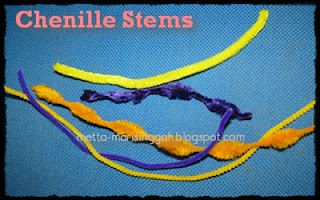
- A few of Yellow Chenille Stem
- Unused toilet paper core
How to make them are just easy :
- Blow the balloons that are needed, the size is up to you n your kids.
- To make caterpillar, just attach the balloons using the double tape, side to side, the tied knot on the bottom, attach as many as you want until it forms a caterpillar. Glue two eyes from two balls of dark papers, and give a smiley mouth from the chenille stem. And the caterpillar is yours.
- To make the Butterfly, resize the toilet paper core and tape it again to form a pipe. Attach the balloons on the sides of the pipe, and on one end of the pipe to make the head. Glue two balls of dark paper to make the eyes. Taraaa....your butterfly is done :)
What a beautiful afternoon, having a good time with my Son, Benn The BOY.
Happy Crafting with your kids :)


